Get Arc Up and Running
Installation is easy with Arc's embedded web server and free trial license. This guide will focus on the simplest and fastest way to start working with Arc on your machine.
Quickstart
Follow these steps to get started:
- Download - find the download for both the Windows and Java edition on the Arc website here.
- Install - run the setup.exe (Windows), or extract and run the setup.jar (Java) to launch the installation wizard.
- Secure - during setup, specify the password for the default 'admin' user to guard access to the configuration console (By default, the password is also 'admin.').
- Launch - use the setup wizard's 'Run Arc' option, or navigate to the installation directory and run Arc.exe (Windows) or arc.jar (Java).
- Evaluate - the administration console automatically launches in a web browser. Navigate to the 'About' page and click the Activate 30-Day Trial button.
Now, Arc is ready to go!

What's Happening Under-the-Hood?
The Embedded Server
Arc is a web application, so it can easily receive messages and files from your trading partners via the internet. Web applications must be hosted in a web server, and Arc's embedded server ensures this does not complicate setup.
Arc does not require the embedded server, though, and can be deployed to external web servers (IIS, Tomcat, Jetty, JBoss, etc). Arc's hosting configuration can be as simple- or as complex- as your environment requires.
By default, the embedded web server listens on port 8001 and supports only plaintext connections. This behavior can be configured as described in the following section.
The Web UI
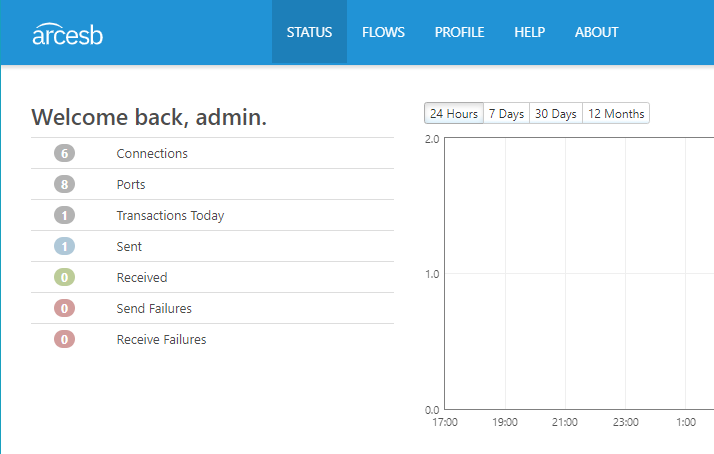
Arc's user interface (admin console) is also entirely web-based. In the same way that external partners can connect to Arc to send files or messages, you can connect to Arc with a web browser to access the admin console.
A web browser will automatically launch when the embedded web server is started, but opening or closing the admin console has no effect on the operation of the application. The server runs in the background, and you can open the UI in a web browser whenever necessary.
The console is guarded behind a set of admin credentials to ensure that only you can configure the application.
Configuring the Embedded Server
The embedded web server works "out-of-the-box" but can also be configured to accomodate specific use cases.
Windows Edition
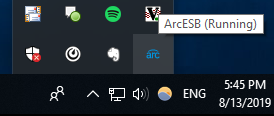
On Windows, configure the web server through a dedicated UI. Find the Arc icon in the system tray when Arc runs.

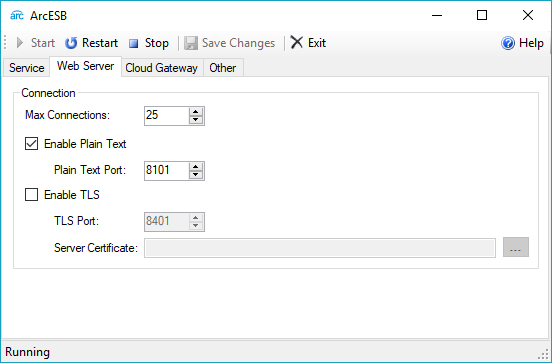
Right-click the Arc icon and select Server Options... to launch the embedded web server UI.

This UI allows you to configure the embedded web server to run as a service, enable or disable SSL/TLS and plaintext connections, enhance the server logging, and more. You can find detailed information on configuring the embedded web server in our dedicated documentation page.
Java Edition
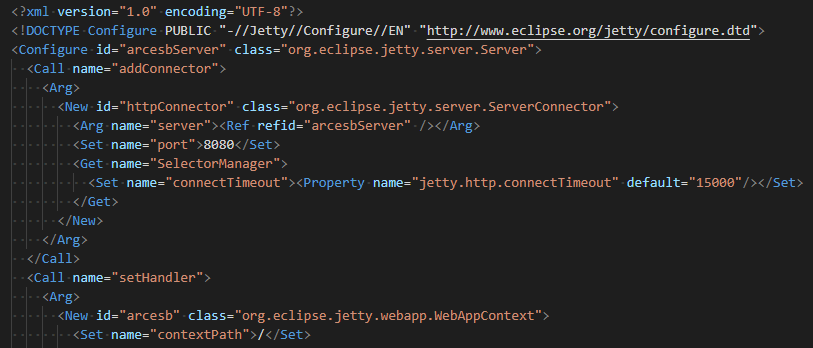
The Java edition uses a Jetty servlet as the embedded web server. This server is configured via the Arc.xml file in the webserver directory.

By default, the installation directory can be found at the following path:
Windows: C:\Program Files\CData\Arc Java Edition\webapp
Java: ~/arc/webapp
Server configuration properties are set directly in the Arc.xml file. For information on changing the server port, enabling or disabling SSL/TLS, and more, please visit our dedicated documentation page.
Starting and Stopping the Server
The embedded web server will automatically start when Arc.exe or Arc.jar is run.
In the Windows Edition, the server can be manually stopped or restarted within the embedded web server UI.
In the Java Edition, end the process running the .jar file to stop the server, and run the .jar file again to restart it.
Create Your First Flow
The Flows page is where most of the magic happens in Arc. If you're unfamiliar with the Flows page, check out our Introduction to the Flows Page.
If you're ready to get started building a custom Flow, you can use our Creating Your First Flow guide as a reference.
Ready to get started?
Use Arc's free 30-day trial to start building your own custom workflows today:
